I sell on Tindie
Showing posts with label beaglebone. Show all posts

Sunday, September 6, 2015

Beaglebone tslib Ubuntu install

After I installed touchscreen it was a requirement to install tslib for testing.
I installed ubuntu with kernel 4.1 as described at http://elinux.org/BeagleBoardUbuntu
Here are the commands for tslib install

sudo apt-get install libtool unzip automake

wget https://github.com/kergoth/tslib/archive/master.zip
unzip master.zip
cd tslib-master
./autogen.sh
./configure
make
sudo make install
sudo su
cd
nano .bashrc

Add to the end of file

export TSLIB_FBDEVICE=/dev/fb0
export TSLIB_TSDEVICE=/dev/input/event1
export TSLIB_CONFFILE=/usr/local/etc/ts.conf
export LD_LIBRARY_PATH=/usr/local/lib/

nano /usr/local/etc/ts.conf


Uncomment line: module_raw input

Reboot the board.

Now test the tslib

sudo su
ts_test

Saturday, December 20, 2014

Boneleds - RGB Leds at the beaglebone

Beaglebone has 6 PWMs. It can be used by 2 RGB LEDS for some illumination. I wrote a program that slowly changes the colors.
Wiki is available at http://elinux.org/Boneleds

Saturday, December 6, 2014

Beaglebone black as 3G router or wireless access point with 3G connection

Here are things that I found at my storage.
- Beaglebone black
- HUAWEI E220 3G modem
- D-Link DWA-140 wireless N USB stick
- USB hub

Lets make a 3G Wireless AP from this.
All drivers should be enabled in kernel as modules and all devices should be recognized. I tested it with kernel 3.15

1. Get device id with lsusb

Bus 002 Device 003: ID 2001:3c15 D-Link Corp. DWA-140 RangeBooster N Adapter(rev.B3) [Ralink RT5372]
Bus 002 Device 005: ID 12d1:1003 Huawei Technologies Co., Ltd. E220 HSDPA Modem / E230/E270/E870 HSDPA/HSUPA Modem
Bus 002 Device 002: ID 05e3:0605 Genesys Logic, Inc. USB 2.0 Hub
Bus 002 Device 001: ID 1d6b:0002 Linux Foundation 2.0 root hub
Bus 001 Device 001: ID 1d6b:0002 Linux Foundation 2.0 root hub

2. Install ppp

sudo apt-get install ppp

3. Install umtskeeper

wget http://zool33.uni-graz.at/petz/umtskeeper/src/umtskeeper.tar.gz 
sudo tar -xzvf umtskeeper.tar.gz
sudo chmod +x umtskeeper

4. Get sakis3g

sudo wget "http://downloads.sourceforge.net/project/vim-n4n0/sakis3g.tar.gz?r=http%3A%2F%2Fsourceforge.net%2Fprojects%2Fvim-n4n0%2Ffiles%2F&ts=1363537696&use_mirror=tene~t" -O sakis3g.tar.gz
sudo tar -xzvf sakis3g.tar.gz
sudo chmod +x sakis3g

5. Try to connect with sakis3g

./sakis3g --interactive

After some scripts running you should be connected. You should know user and password for your operator.
You can test the connection with

ping -c 4 www.google.com

Now try to run the script from command line

./umtskeeper --sakisoperators "USBINTERFACE='0' OTHER='USBMODEM' USBMODEM='12d1:1003' APN='CUSTOM_APN' CUSTOM_APN='safaricom' SIM_PIN='1234' APN_USER='saf' APN_PASS='data'" --sakisswitches "--sudo --console" --devicename 'Huawei' --log --silent --monthstart 8 --nat 'no'

A few remarks about this command:
in USBMODEM put device Id from lsusb
CUSTOM_APN - access point name reported by sakis3g
SIM_PIN - pin code if it exists
APN_USER/PASSWORD - user name and password for your 3g provider

If it works - put it at the end of /etc/rc.local

PATH_GOES_HERE/umtskeeper --sakisoperators "USBINTERFACE='0' OTHER='USBMODEM' USBMODEM='12d1:1003' APN='CUSTOM_APN' CUSTOM_APN='safaricom' SIM_PIN='1234' APN_USER='saf' APN_PASS='data'" --sakisswitches "--sudo --console" --devicename 'Huawei' --log --silent --monthstart 8 --nat 'no' &

At this point you can restart the beaglebone and make sure that you have the 3G internet.

6. Install hostapd and configure it

sudo apt-get install hostapd
zcat /usr/share/doc/hostapd/examples/hostapd.conf.gz | sudo tee -a   /etc/hostapd/hostapd.conf

Change in /etc/hostapd/hostapd.conf

ssid=NAME OF YOUR WIRELESS NETWORK GOES HERE
channel=10
wpa=2 # This sets the security settings to WPA2
wpa_passphrase=PASSWORD FOR NETWORK GOES HERE
wpa_key_mgmt=WPA-PSK
wpa_pairwise=CCMP
rsn_pairwise=CCMP

7. Ad to the end of /etc/network/interfaces

auto wlan0
iface wlan0 inet static
hostapd /etc/hostapd/hostapd.conf
address 192.168.8.1
netmask 255.255.255.0

At this point you can restart your beaglebone and make sure that you can connect to wireless access point.

8. Set the routing tables.
Enable routing in kernel. At the /etc/sysctl.conf change the following

net.ipv4.ip_forward=1

Beaglebone should be restarted after this step.

Now set the routing tables

sudo iptables -t nat -A POSTROUTING -o ppp0 -j MASQUERADE
sudo iptables -A FORWARD -i ppp0 -o wlan0 -m state --state RELATED,ESTABLISHED -j ACCEPT
sudo iptables -A FORWARD -i wlan0 -o ppp0 -j ACCEPT

You should be able now to connect to the acces point and surf the internet.

For make the routing tables permanent:

sudo sh -c "iptables-save > /etc/iptables.ipv4.nat"

Now edit the file /etc/network/interfaces and add the following line to the bottom of the file:

up iptables-restore < /etc/iptables.ipv4.nat

That's all. Enjoy your beaglebone.

Links used:
http://www.instructables.com/id/Raspberry-Pi-as-a-3g-Huawei-E303-wireless-Edima/
http://seravo.fi/2014/create-wireless-access-point-hostapd
http://elinux.org/RPI-Wireless-Hotspot

Wednesday, June 4, 2014

LCD cape V2

New board design.
5 inch LCD for beaglebone / beaglebone black. 
Resolution: 800x480, 24 bit color, PWM backlight control, 10 points multitouch capacitive touchscreen, 4 user buttons. Power is taken from the beaglebone. Consists of 3 boards - stackable cape for beaglebone, LCD with adapter, board with buttons. 
It can be bought here: Auctiva store


Sunday, March 23, 2014

LCD cape final prototype

Just received a backlight board. Everything works including backlight in Android. Soon will be for sale.

Saturday, February 8, 2014

Wednesday, January 29, 2014

nh5cape - lcd cape for beaglebone

Just finished work on beaglebone cape for Newhaven LCD 5" with capacitive touchscreen.
Works with tslib on ubuntu and on Android.
Multitouch supported.
Kernel 3.8 with device tree.
Next board revision will have 5V and 3.3V regulators on board and backlight support. If someone need it. I need your comments.

Wednesday, March 27, 2013

Friday, March 15, 2013

New motors

The motors was changed to servos. The step motors have big disadvantages. 
  • They require a lot of power (more than 1.5A) 
  • When step motor run at slow speed - it vibrates. And everything that connected to it vibrates. The vibration is very powerful. It can open screws.
And 2 additional ultrasonic sensors was added at the sides. The software is on it's way.

Friday, February 22, 2013

Beaglebone robot. First testing.

Just tested the robot. It will be great. First simple testing for detecting obstacles.

Saturday, February 9, 2013

Work in progress

My second bot is getting better.
Already connected and working:

  • Step motors with a4988 drivers, 
  • DC/DC convertor 12V to 5V, 
  • Adafruit 1.8 TFT display (128x160), 
  • Maxbotix Ultrasound range finder, 
  • Adafruit INA219 Current/Voltage sensor, 
  • VCNL4000 IR proximity sensor. 
  • USB Wi-fi adapter

Waiting for some connectors to finish it all.
Linux kernel 3.2.33-psp26 (last stable kernel for beaglebone) should be patched for correct framebuffer display.


Saturday, January 12, 2013

Driving stepper motor with beaglebone. Part 2

Another robot in project. A few things about driving stepper motors with a4988 drivers.
The board takes about 120-150 mA without driving them and about 1.3 A with motors on. The faster they moves - the current will be lower. With full speed it is about 500 mA.
The stepper motor in stall state can be very hot - I think it is hotter than 60 C. But you can disable the motor in driver control, when it is not active. I disabled them on startup script and enable only when it is needed.
I am using C++ in eclipse with remote gdb from laptop running Ubuntu. The beaglebone using Ubuntu as OS from http://elinux.org/BeagleBoardUbuntu
Note: The current measured from 12 V power supply.


Sunday, October 14, 2012

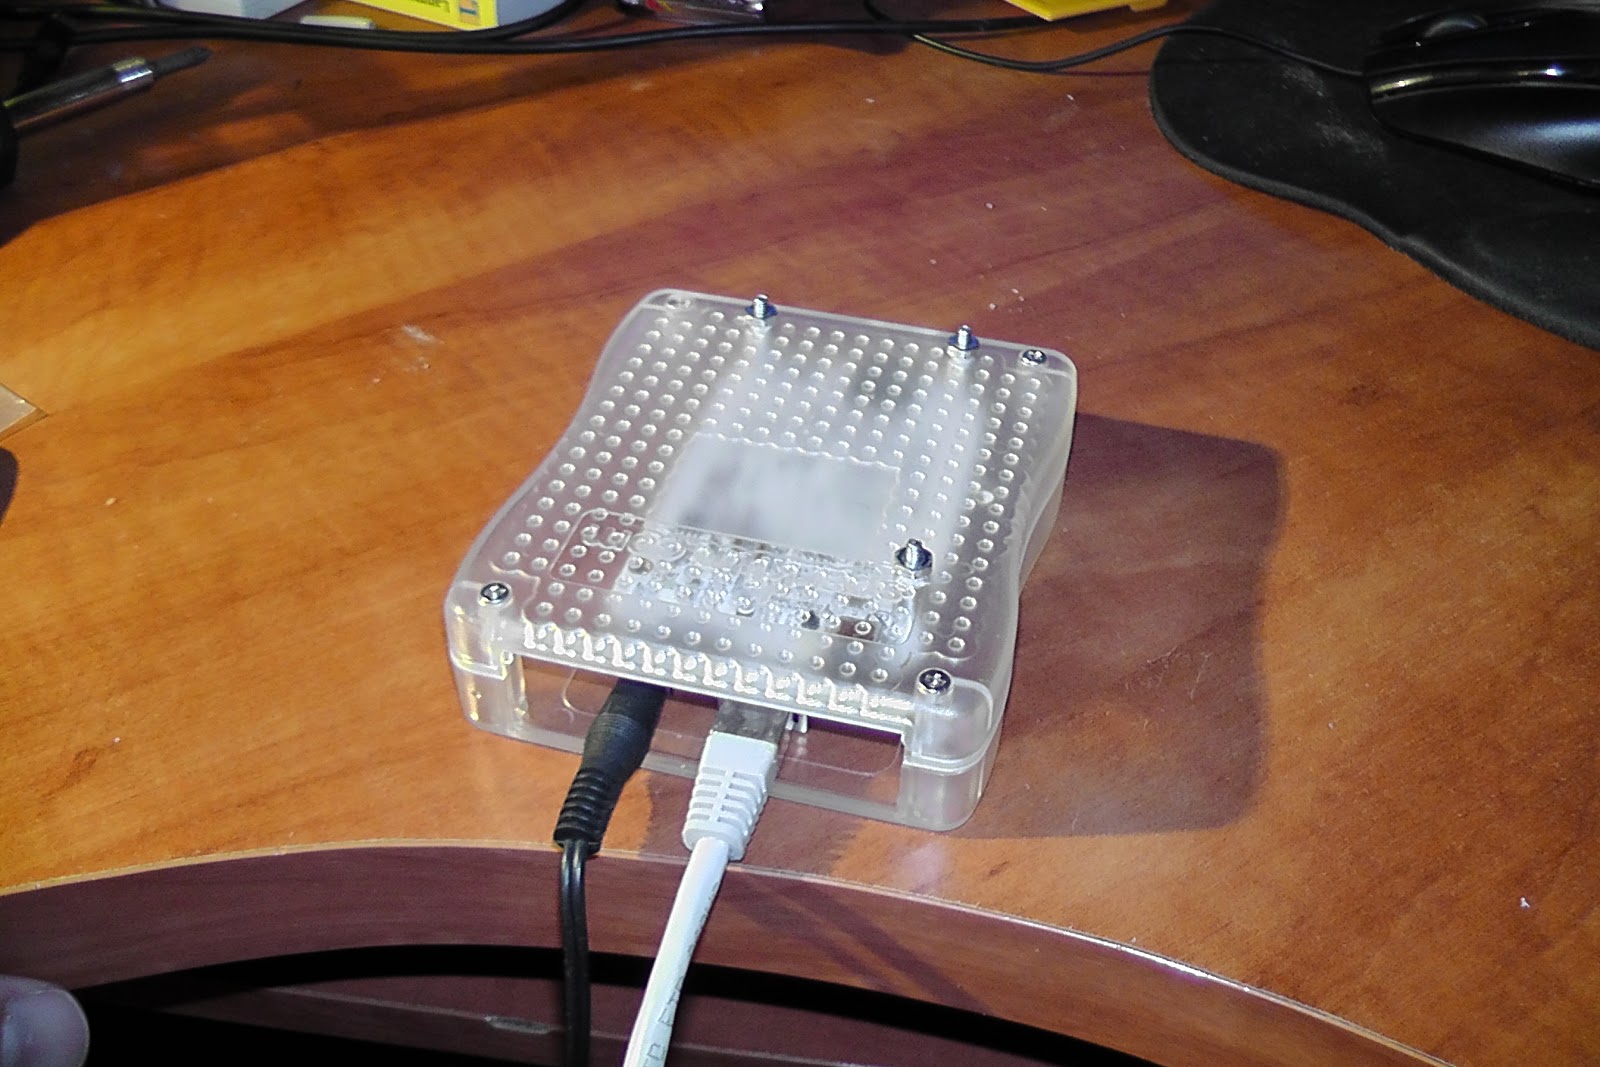
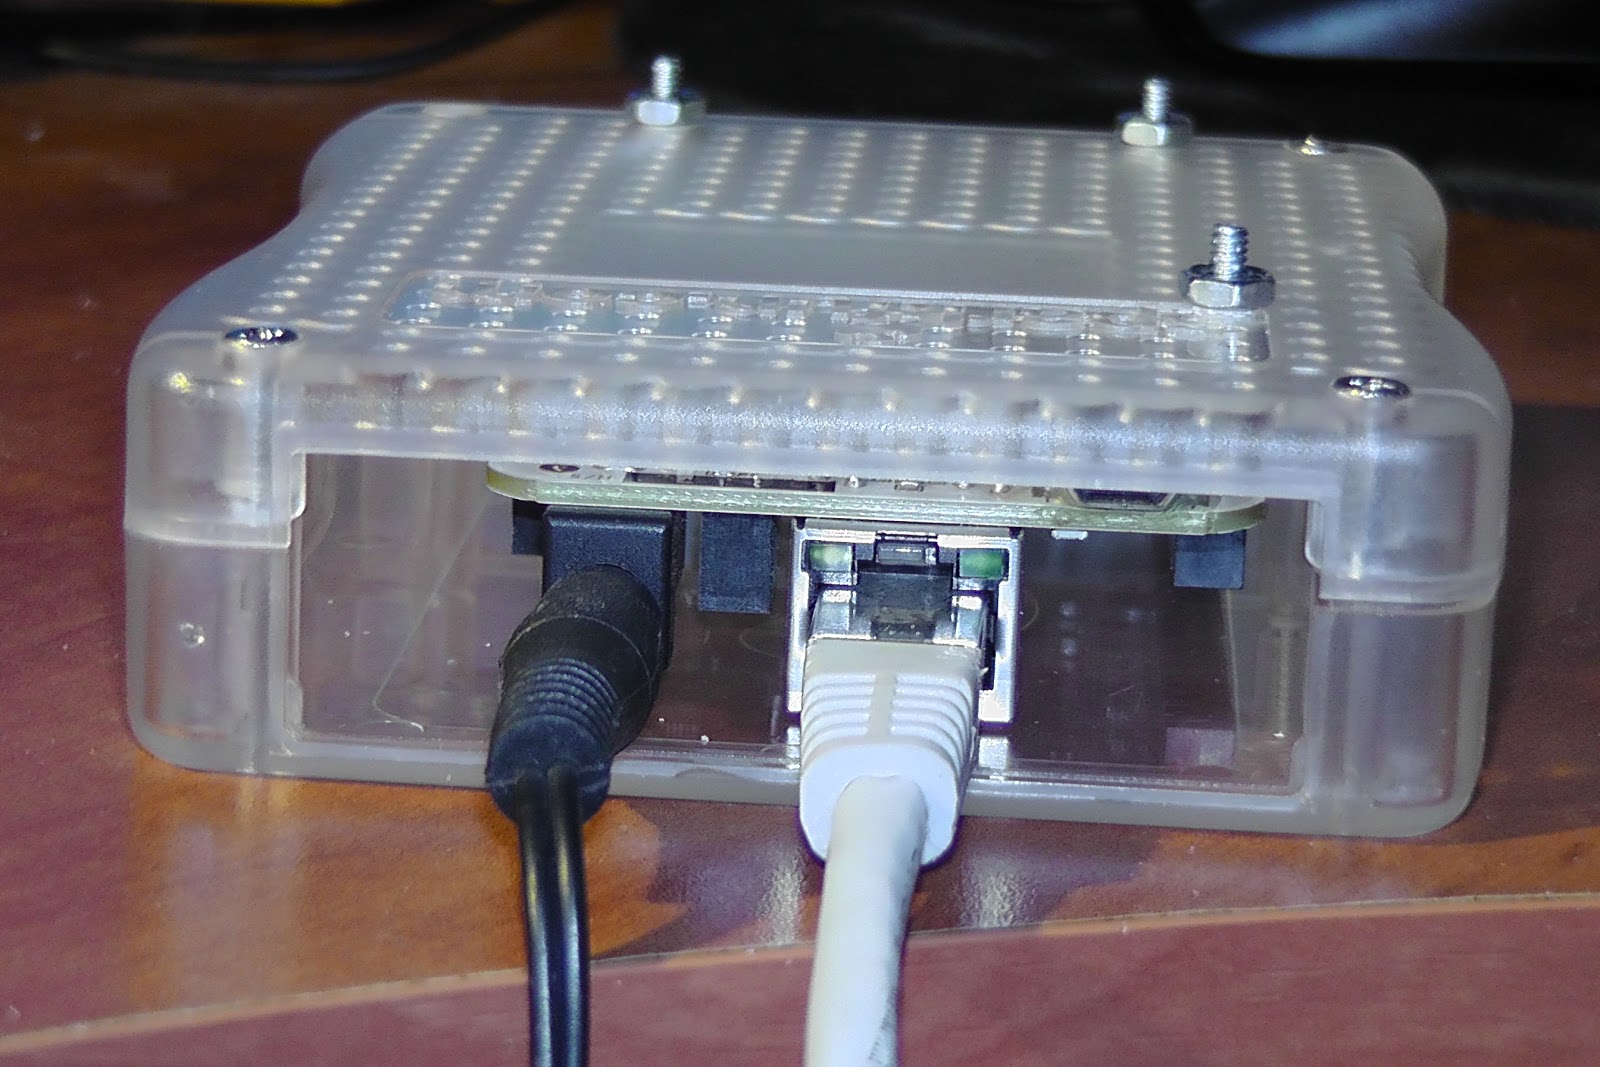
Beaglebone case

The beaglebone case from sparkfun.com.
I can't mount the 4th screw because of SMD resistors that too close to the mount hole.


Tuesday, September 25, 2012

Oscam card server on beaglebone

I own a Beaglebone (TI AM3358 ARM Cortex-A8). I was thinking about use of it.
It can control 4 PWMs (for servos for example), but I already have a servo robot (mega168 bot).
It is capable of running zoneminder - surveillance software. But all my USB cameras didn't work with it - they very old.
Here are the instructions to build oscam server with it.

1. Install ubuntu 12.04: http://elinux.org/BeagleBoardUbuntu#Demo_Image
2. Update kernel: http://elinux.org/BeagleBoardUbuntu#Advanced
3. Update ubuntu with
sudo apt-get update
sudo apt-get upgrade 
4. Install ftp server
sudo apt-get install vsftpd
5. Configure it (/etc/vsftpd.conf)
local_enable=YES
write_enable=YES
6. Restart vsftpd
sudo service vsftpd restart
7. Install all development stuff: build-essential, automake, subversion, etc
8. Install libusb from source:
wget http://downloads.sourceforge.net/project/libusb/libusb-1.0/libusb-1.0.9/libusb-1.0.9.tar.bz2
tar -xf libusb-1.0.9.tar.bz2
cd libusb-1.0.9
./configure
make
sudo make install 
9. Get oscam (http://www.streamboard.tv/oscam/wiki/GettingOscam)
svn checkout http://www.streamboard.tv/svn/oscam/trunk oscam-svn
cd oscam-svn
sudo make USE_LIBUSB=1 EXTRA_FLAGS="-I/usr/local/include -L/usr/local/lib"
10. Now you have oscam in "Distribution" folder
sudo cp ./Distribution/oscam-1.20-unstable_svn7488-arm-linux-gnueabihf-libusb /usr/local/bin/oscam
11. Put oscam configs in /usr/local/etc:  oscam.conf, oscam.server, oscam.user

12. Create oscam script (/etc/init.d/oscam):

#!/bin/sh
# Start/stop the OScam daemon.
#
### BEGIN INIT INFO
# Provides:          OScam
# Required-Start:    $syslog $network $pcscd
# Required-Stop:     $syslog $network $pcscd
# Default-Start:     2 3 4 5
# Default-Stop:      0 1 6
# Short-Description: Start and Stop OScam
# Description: OScam init script. This script start and stop OScam.
### END INIT INFO

NAME=oscam
DAEMON=/usr/local/bin/$NAME
CONFIG_DIR=/usr/local/etc
PIDFILE=/var/run/oscam.pid
LOG=/var/log/oscam/oscam.log
LOGUSR=/var/log/oscam/oscamuser.log
LOGCW=/var/log/oscam/cw.log
STARTAS="$DAEMON -- -b -c $CONFIG_DIR"

#test -f $DAEMON || exit 0
[ -x $DAEMON ] || exit 0
[ -d $CONFIG_DIR ] || exit 0

# Get lsb functions
. /lib/lsb/init-functions

echo $NAME

clear_file() {
    # Clear log and pid file if exists
    if [ -e $PIDFILE ]
then
   rm -f $PIDFILE
fi
if [ -e $LOG ]
then
   rm -f $LOG
fi
if [ -e $LOGUSR ]
then
   rm -f $LOGUSR
fi
if [ -e $LOGCW ]
then
   rm -f $LOGCW
fi
}
case "$1" in
start)
        clear_file
        log_daemon_msg "Starting OScam daemon" "OScam"
        start-stop-daemon --start --quiet --exe $DAEMON --startas $STARTAS
        log_end_msg $?
;;
stop)
        log_daemon_msg "Stopping OScam daemon" "OScam"
        start-stop-daemon --stop --quiet --exe $DAEMON
        log_end_msg $?
        ;;
restart)
        log_daemon_msg "Restarting OScam daemon" "OScam"
        start-stop-daemon --stop --retry 5 --quiet --exe $DAEMON
        clear_file
        start-stop-daemon --start --quiet --exe $DAEMON --startas $STARTAS
        log_end_msg $?
        ;;
status)
status_of_proc -p $PIDFILE $DAEMON $NAME && exit 0 || exit $?
        ;;
*)
        log_action_msg "Usage: /etc/init.d/OScam {start|stop|restart|status}"
        exit 2
        ;;
esac
exit 0
13. Set script permissions
sudo chmod 755 /etc/init.d/oscam

14. Add script to startup:
sudo update-rc.d oscam defaults

14. Restart the beaglebone and open the page in browser: http://XXX.XXX.X.XX:8888, with beaglebone IP. You should see the oscam running.

15. You can check oscam errors with:
 sudo service oscam start
or
sudo service oscam restart 

Update 07-Dec-2012: Smargo Card reader from ebay works great with this configuration. In file oscam.server should be written:
protocol=smartreader
device=002:003 (or something else depend on lsusb output)

Friday, March 9, 2012

BeagleBone PWM

Today I discovered a few important things.
1. PWM and GPIO in BeagleBone can be activated from shell. And it can be used for servo control.
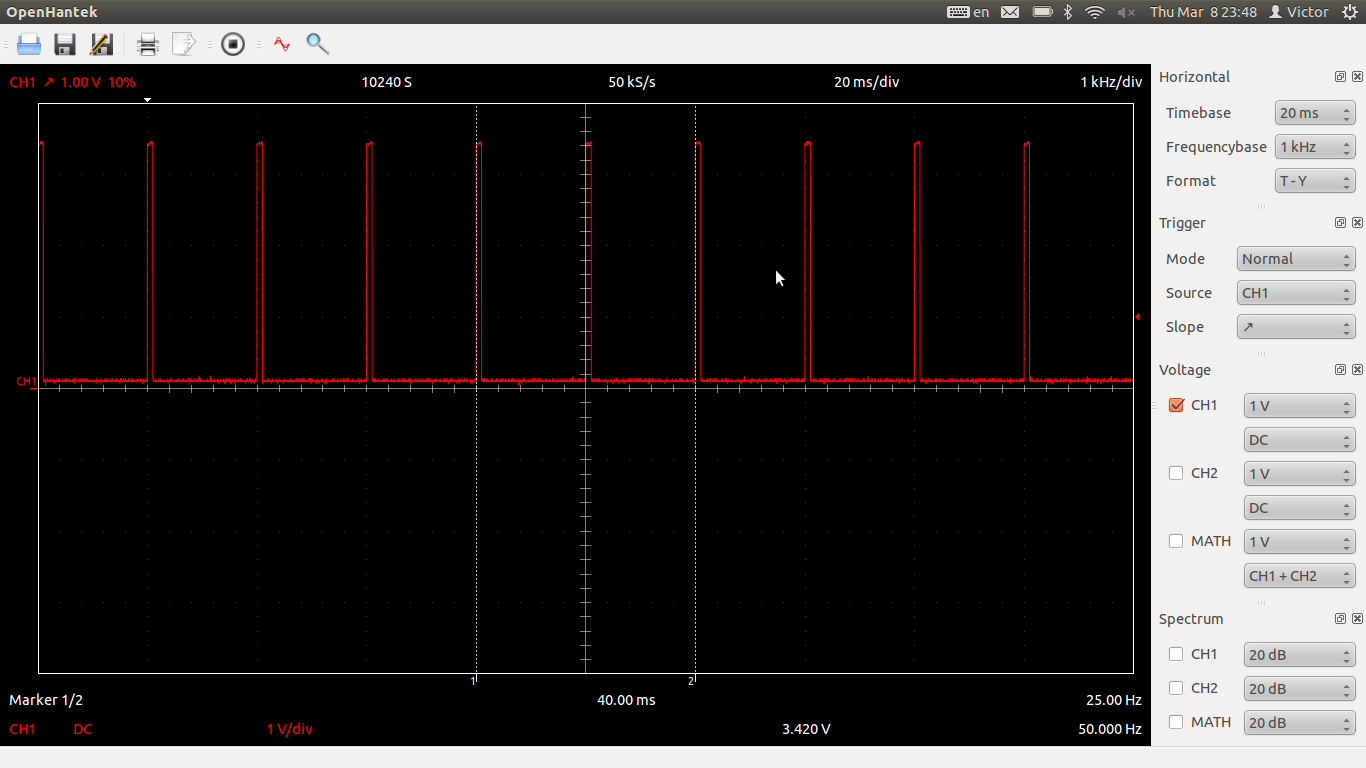
2. DSO 2090 has linux software on http://www.openhantek.org. Finally, I don't need Windows for my scope.

PWM pulses


Wi-fi adapter that I use


Monday, March 5, 2012

Ubuntu wi-fi auto connect

I had 2 days of headache trying to make Beaglebone to connect to my wi-fi network upon startup. I installed ubuntu on it (oneiric 11.10). Currently it has only command line interface via serial.
Here is the solution how to configure it. My wi-fi network is open an has MAC connection control.
sudo apt-get install wpasupplicant

/etc/network/interfaces
auto wlan0
iface wlan0 inet dhcp
wpa-driver wext
wpa-conf /etc/wpa_supplicant.conf


/etc/wpa_supplicant.conf
ctrl_interface=/var/run/wpa_supplicant
network={
ssid="MyHomeNetwork"
scan_ssid=1
key_mgmt=NONE
}